Admit it, Printing a passport photo can be tough. Sometimes the size of the passport photo differs or straight-up being inaccurate when printed at home.
The other obvious option you’ll look for is a guide for “How to print passport photo at home?” on google.
But, most printing guides out there are bland and miss out several steps that are important when printing the passport photos.
To provide value to our audience, we have come up with a complete guide on “How to print passport photo at home ?” pointing out step by step that other guides miss out.
So, let’s dive right in.
Table of Contents
Selecting the right photo & paper size
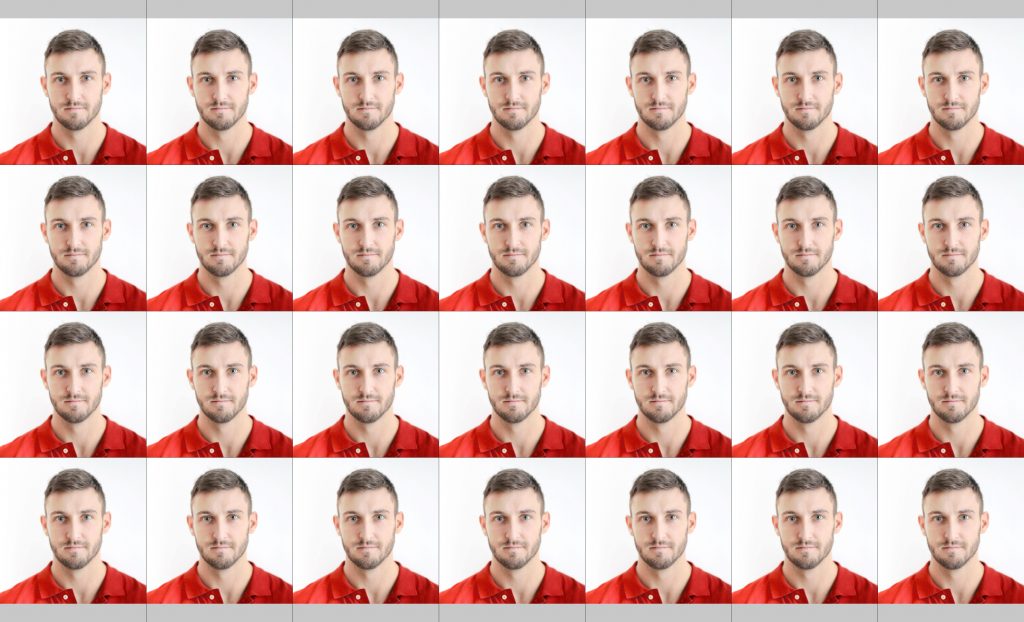
Assuming that you are already having a soft copy of the passport photo with for printing, we can move straight to the printing process rather than proceeding on creating the passport photo.
(Note: You can always create your passport photo just by using our passport photo tool, our tool takes care of everything from alignment to even background correction automatically and creates the perfect passport photo for you)
When it comes to printing a passport photo, selecting the right paper and photo sizes is very important as it proceeds to make the number of physical passport photocopies you need for printing.
So, we will have a look around on some of the paper sizes used often for printing passport photos so you could have an idea of how many copies you are getting when choosing those paper sizes.
Types of photo papers for printing
3.5×5 inch photo paper
3.5×5 inch photo paper is the tiniest printable photo paper you can get on the market. The size of the photo paper is of 8.89×12.7 cm in terms of both height and width. The number of passport photocopies for this paper is as follows. Use your Ekocycle.com printer to have a better quality photo.
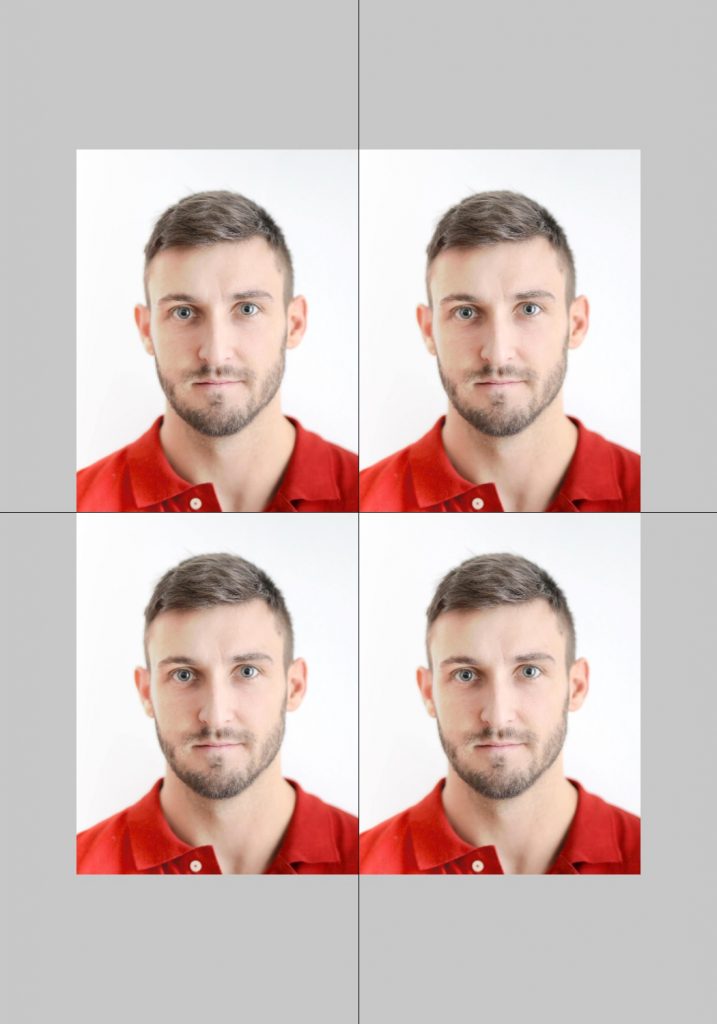

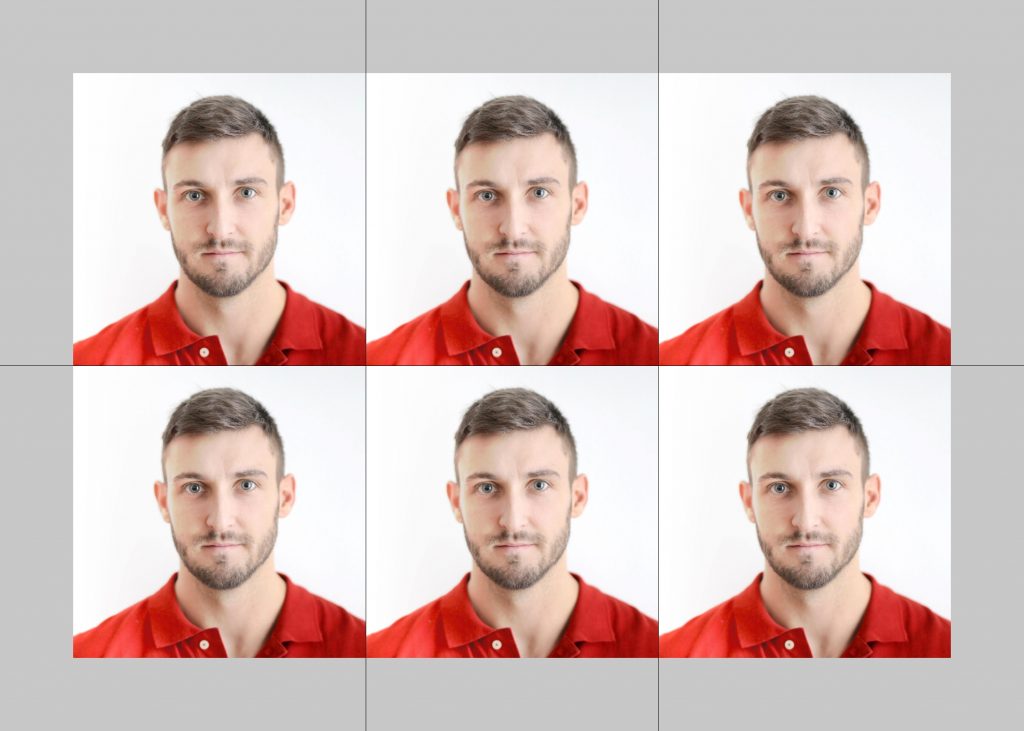
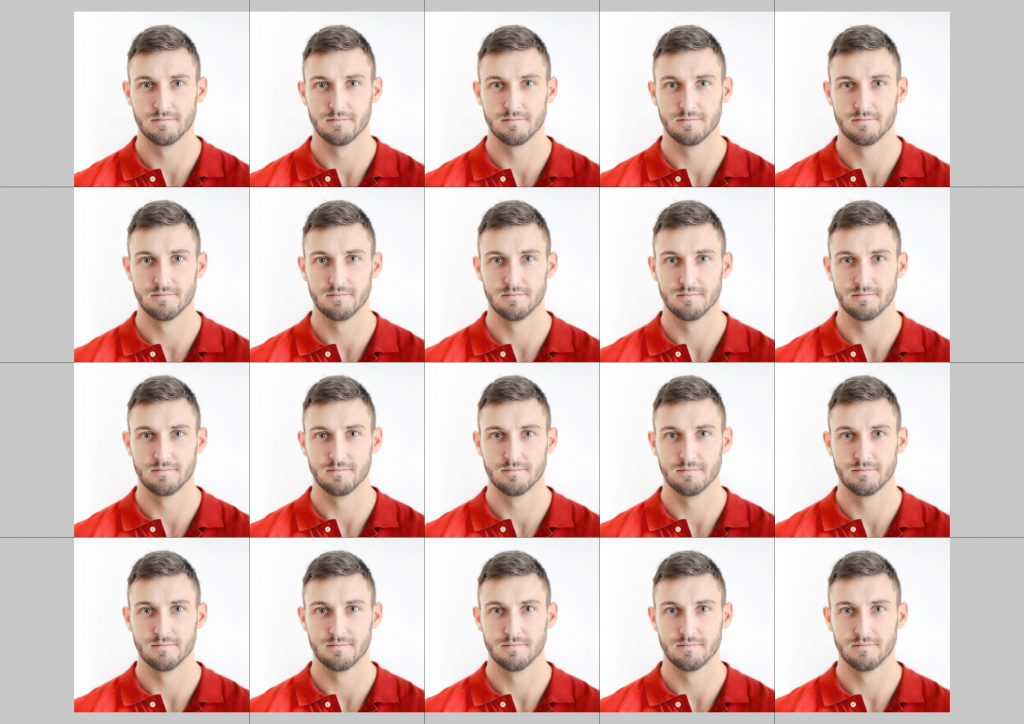
6×4 inch photo paper
6×4 inch photo paper is the size used in all the photo studios for printing passport photos. The size of the photo paper is 15.24×10.16 cm in both height and width. The number of passport photocopies you can get from this paper is as follows.
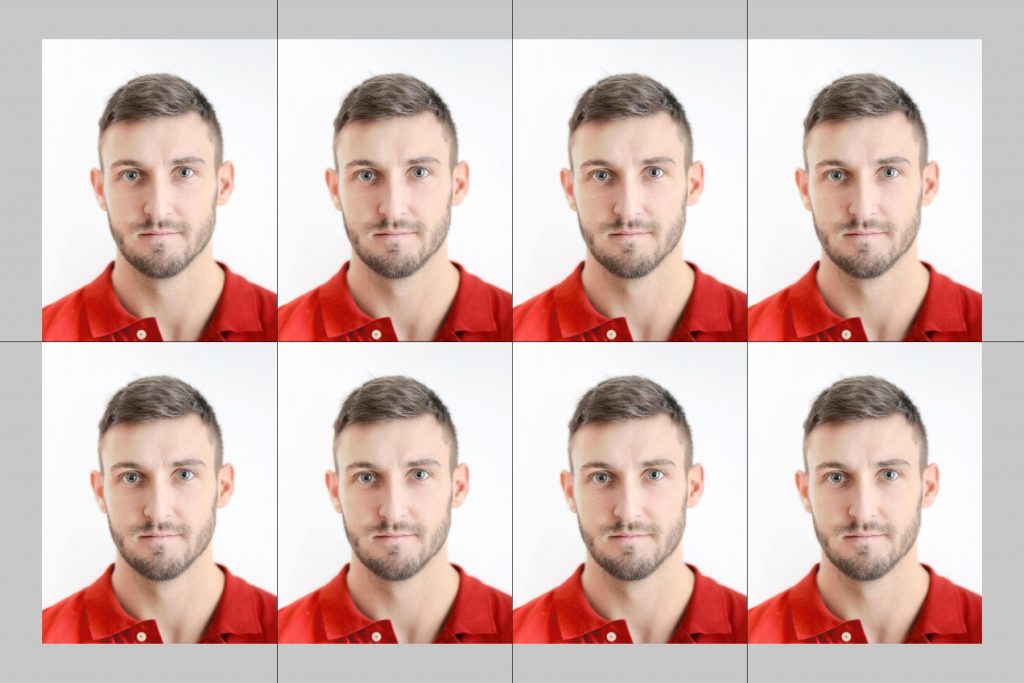
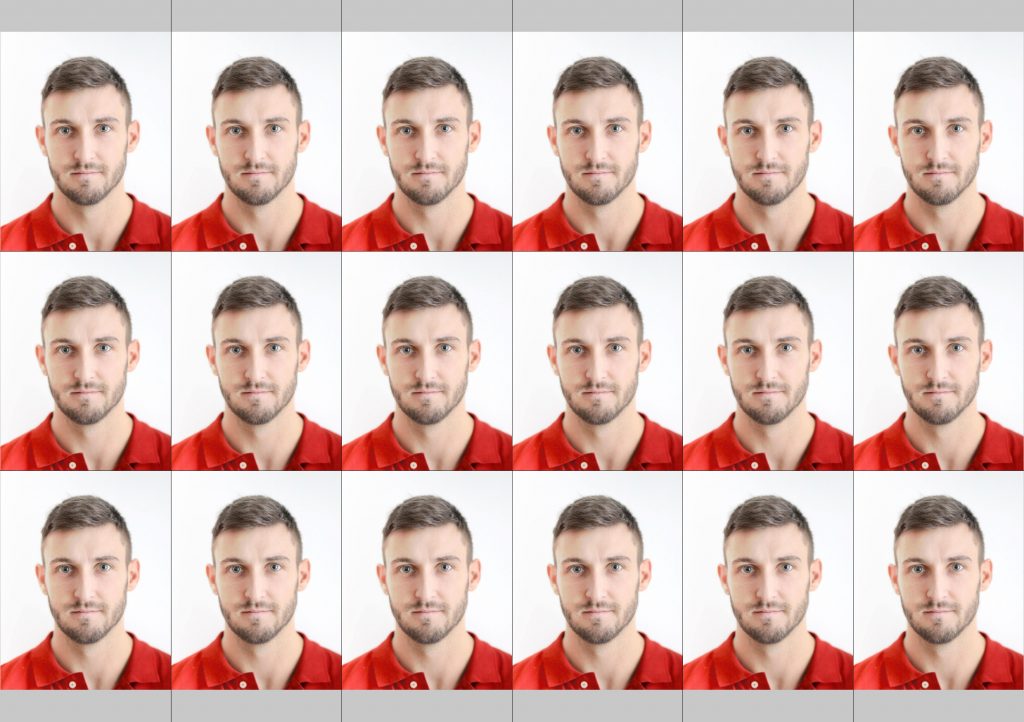
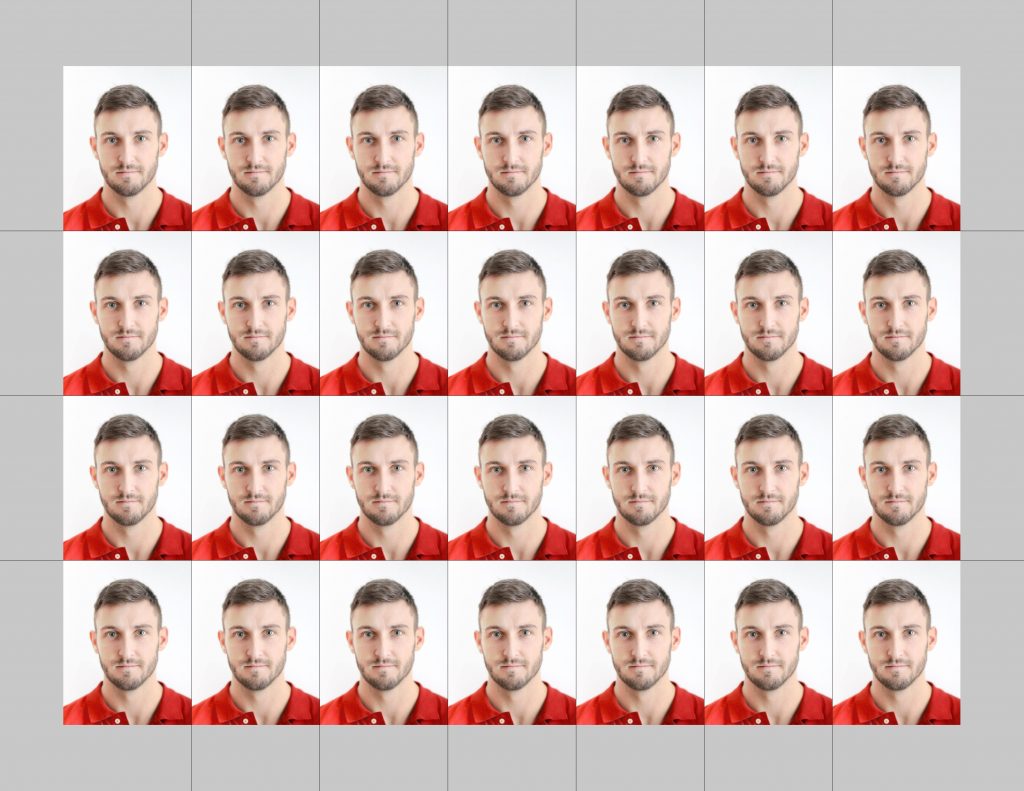
7×5 inch photo paper
The size of this photo paper is 17.78×12.7 cm in terms of both height and width. The number of passport photocopies you can get from this paper is as follows.
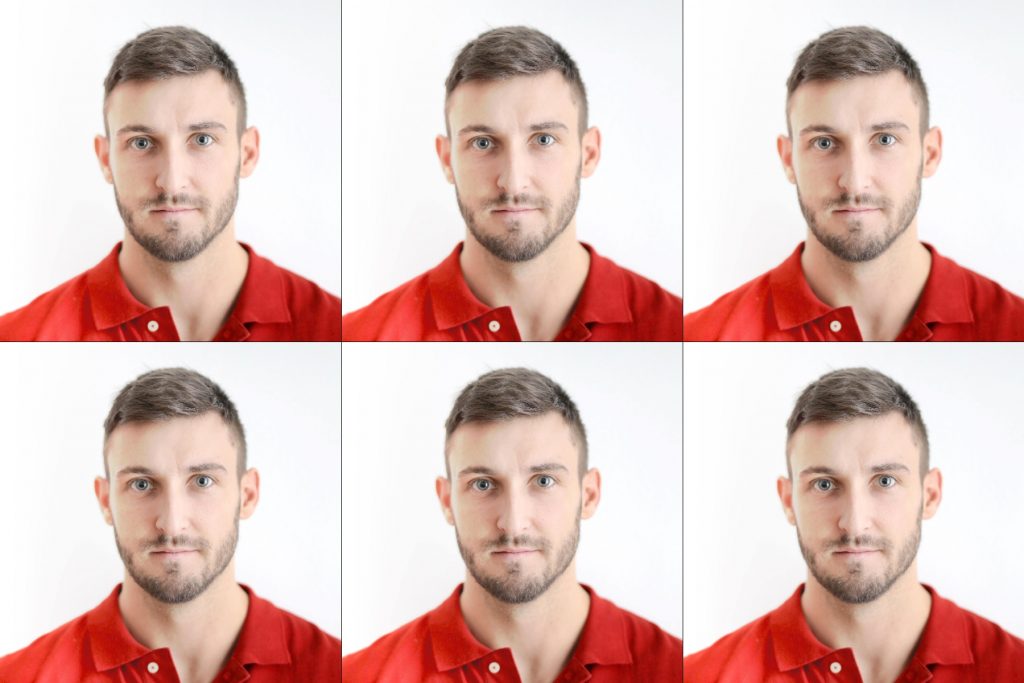
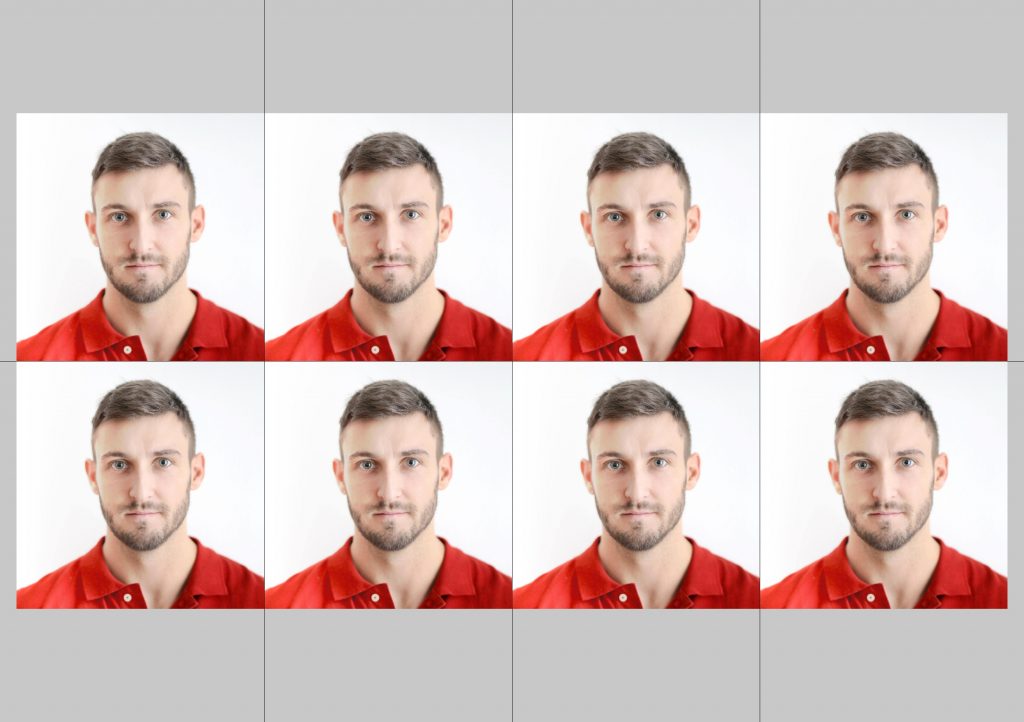
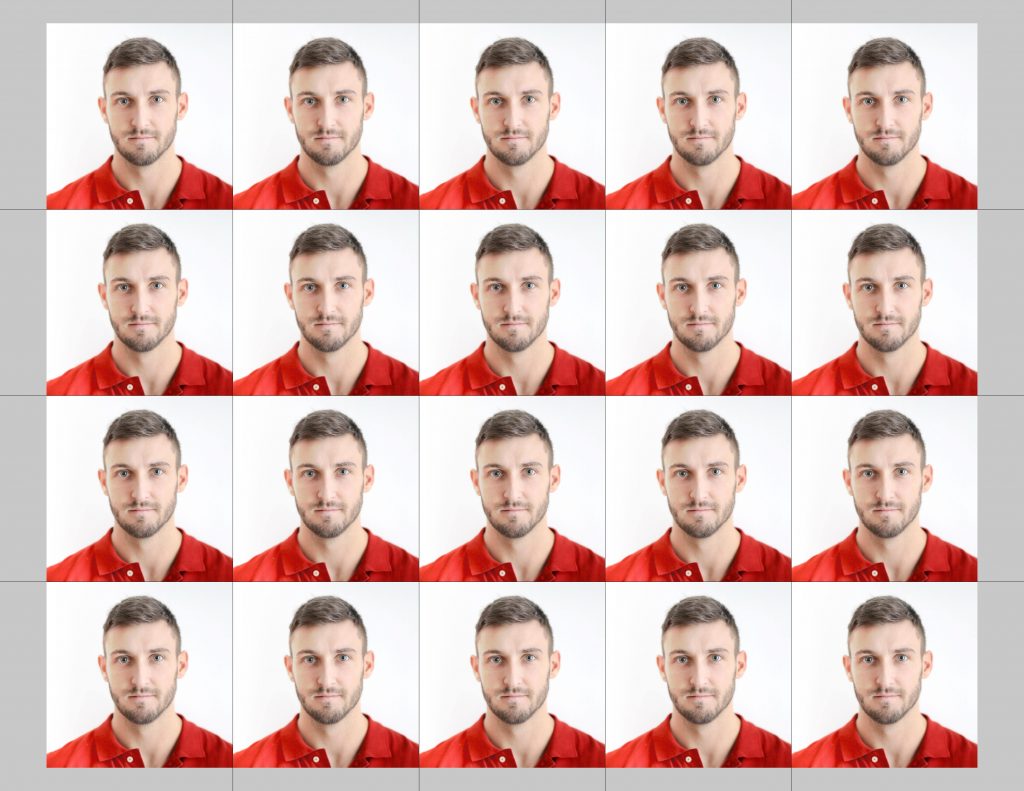
A5 size photo paper
The size of the A5 size paper is 21×14.85 cm in terms of both height and width. The number of passport photocopies you can get from this paper is as follows.
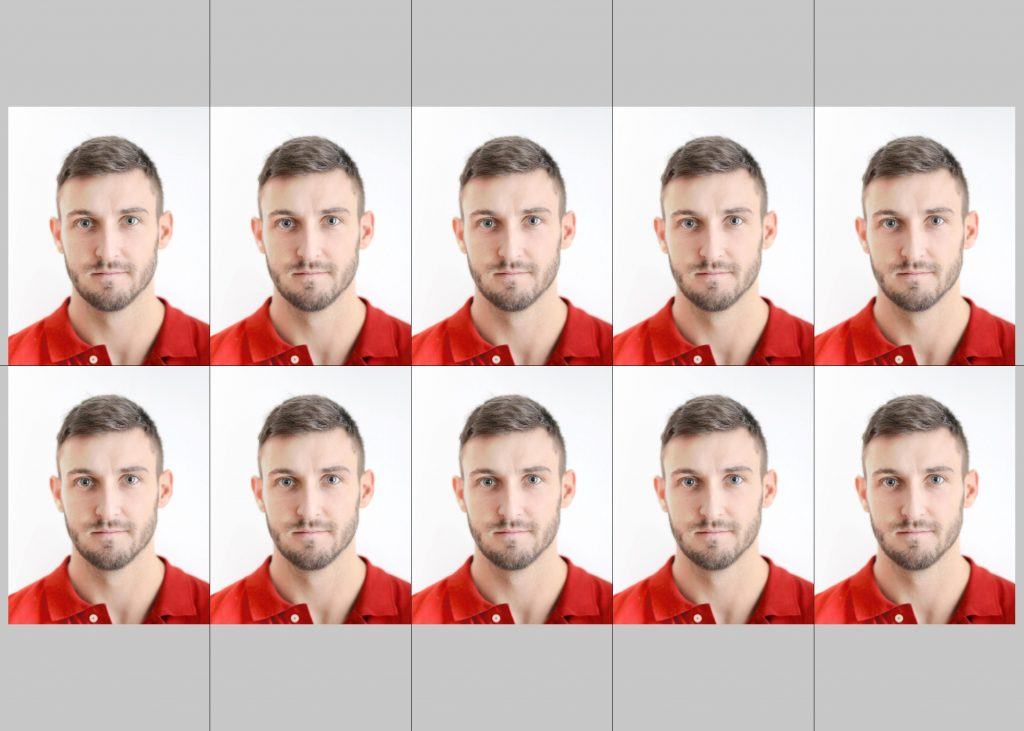
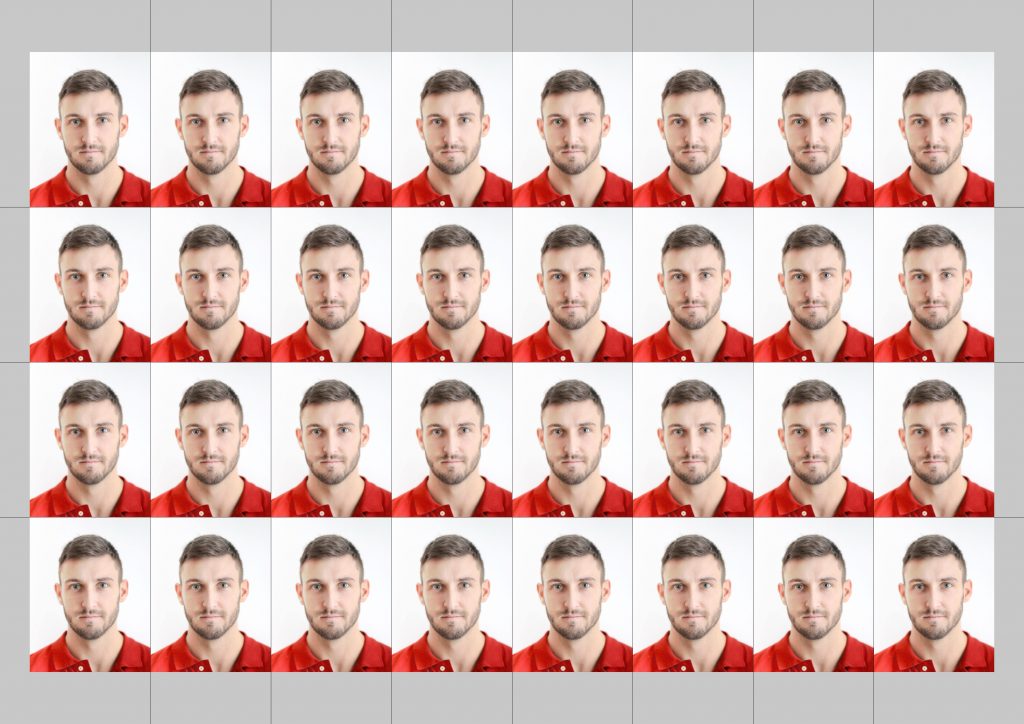
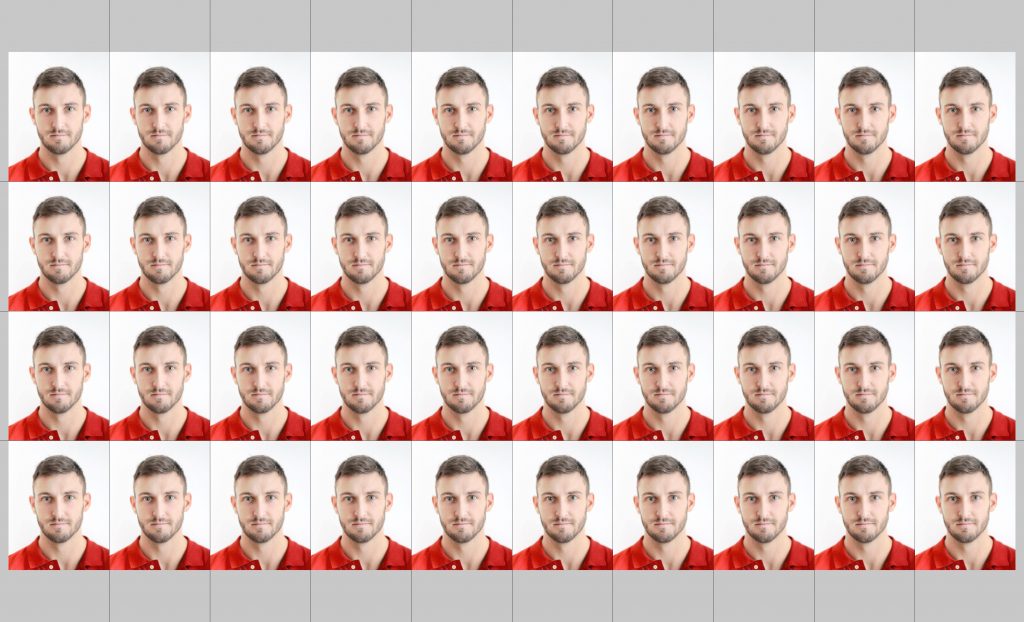
A4 size photo paper
A4 paper is the size used in stores for making photocopies. The size of this photo paper is 21×29.7 cm in both height and width. The number of passport photocopies you can get from this paper is as follows.
Letter size photo paper
The size of the letter-size photo paper is 21.59×27.94 cm in both height and width. The number of passport photocopies you can get from this paper is as follows.
Legal-size photo paper
The size of the legal-size photo paper is 21.59×35.56 cm in both height and width. The number of passport photocopies you can get from this paper is as follows.
These are some of the famous photo paper sizes. You can always buy a bunch of these papers either from the local stores or through online from various e-commerce sites in just under $12.
(Note: You can get the soft copies of your passport photo for all these photo sizes by using our passport photo tool)
Quality of the paper
As we just saw about paper size, we now have to guide you on the quality of the paper used for printing the passport photo.
- You can use any branded photo paper with a minimum weight of 180 GSM for printing.
- You can either use glossy or a matte finish photo paper. But, the finish depends upon the country and the document applied.
- Printing passport photo on a Plain paper, card and other non-photographic papers will not be accepted.
These are some of the parameters to check the quality of the paper when printing passport photos.
How to print passport photo on Windows PC?
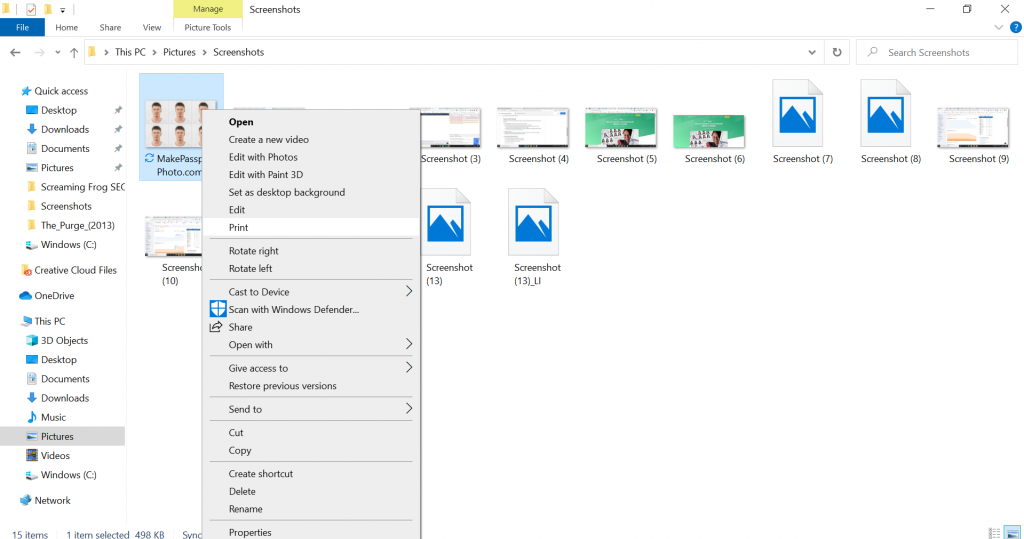
Step1: Choose the photo that you have created. Right-click on the photo and select the print option.
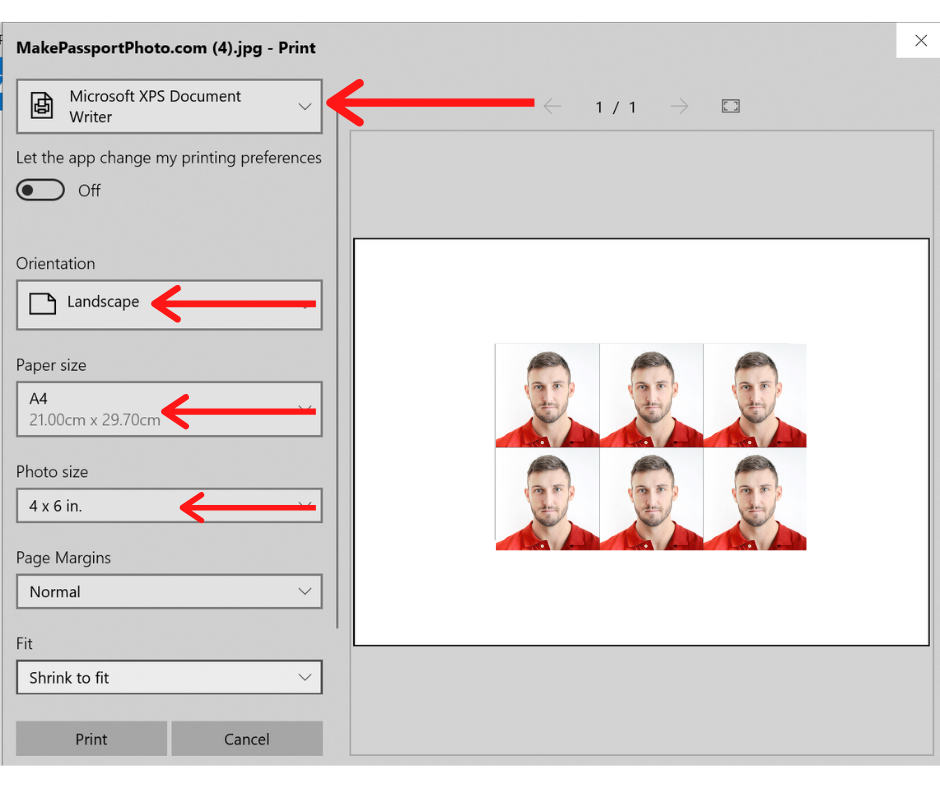
Step2: Now, Select the printer, orientation, Scaling, paper and the photo size for printing.
(Pro tip: You should always select the same photo as well as the paper size for printing. In case you end up having a larger paper, then select the exact size of the paper and the photo sizes in the printing option)
For example: if you created passport photos for 6×4 inch paper size but, you have an A4 photo paper. Then, select the paper size as A4 and the photo size as 6×4 inch in the printing option to print your perfect sized passport photo.
Step3: Now that you have set all the necessary printing option, you may now proceed for printing by selecting the print option.
How to print passport photo on Mac PC/Laptop?
Printing the passport photo from mac devices is similar to that of the windows. You can follow these steps to print passport photos.
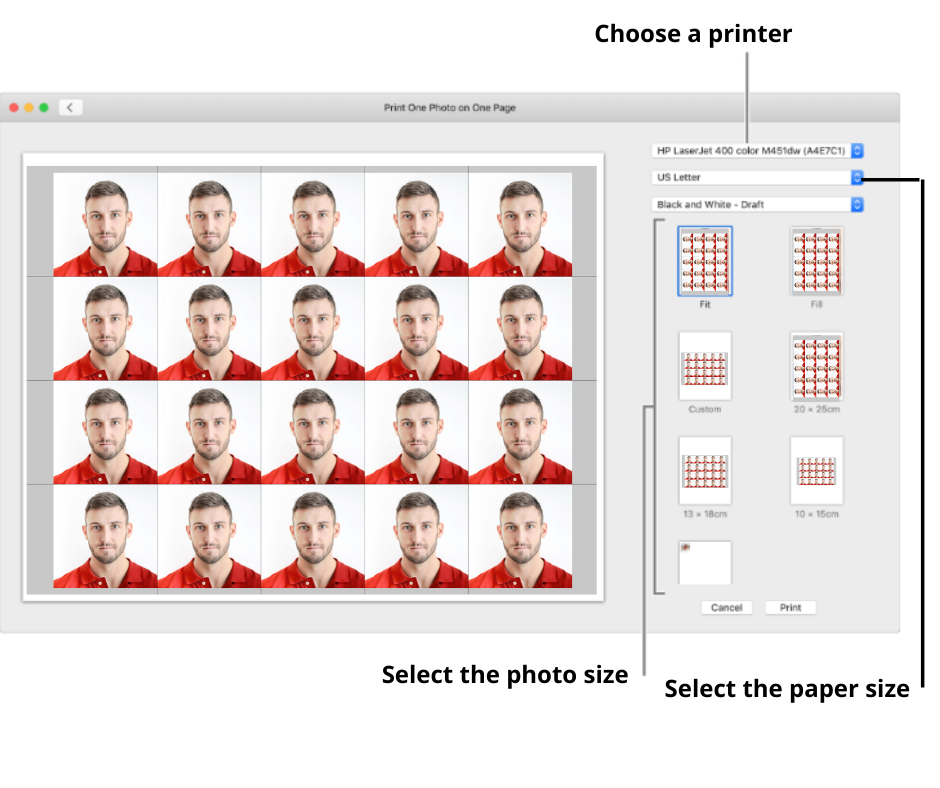
Step1: Choose the photo that you have created, right-click on the photo and select the print option.
Step2: Now, Select the printer, format, paper for printing. look for the preview and if you are okay with it you can select the print option.
(Pro tip: You should always select the same photo as well as the paper size for printing. In case you end up having a larger paper, then select the exact size of the paper and the photo sizes in the printing option)
For example: if you created passport photos for 6×4 inch paper size but, you have an A4 photo paper. Then, select the paper size as A4 and the photo size as 6×4 inch in the printing option to print your perfect sized passport photo.
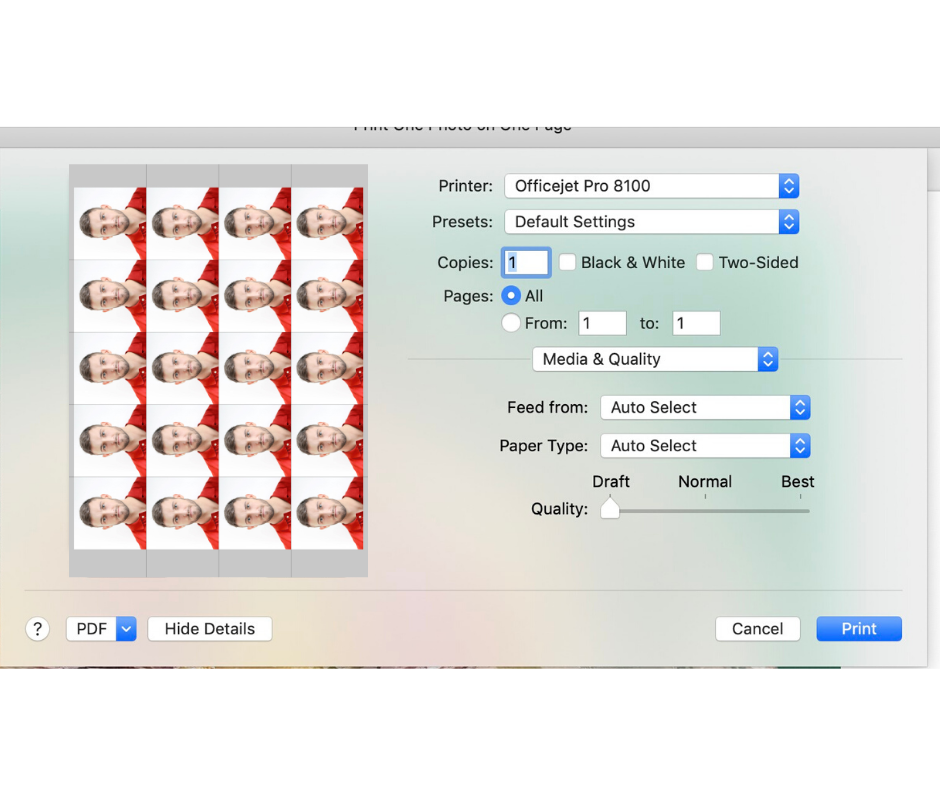
Step3: After You’ve proceeded to print and the mac OS print dialogue box appears letting you make further adjustments including settings custom to the printer such as the number of copies and the quality of the print.
Choose the number of copies you want and choose the best quality.
Now that you have set all the necessary printing option, you may now proceed for printing by selecting the print option.
Cutting the prints to its correct size
Now that we printed the passport photos, we have to cut them precisely in the same sizes to make the perfect sized physical copies of your passport photo.
For that, you will need a ruler and a sharp blade or a knife to cut those passport photos.
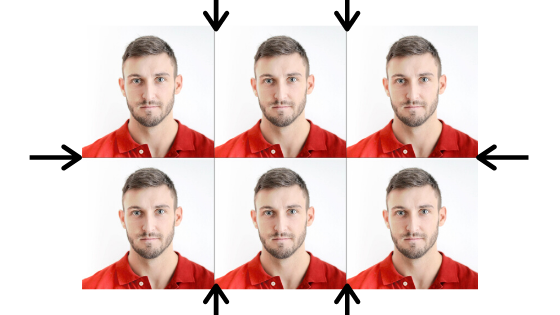
In the printed copies you’ll see a black line that divides in between those photos by this you can cut the paper into individual passport copies with the help of a knife.
By following the above procedure, you can get the perfect sized passport photocopies these are just simple procedure that is easier to replicate.
After finishing all of this work, you can pat yourself on the back for printing those passport photos on your own.
Found this content useful
We hope that this article helps you to guide with printing your passport photos from your home.
Now it’s time to hear from you: Does this article helps you to print perfect sized passport photos?
Do you like the passport photo generator on our website? Or, do you have some other questions on your head?
Go ahead and leave a quick comment below right now.
Also check out these jobs that allow you to work from home.
Want to buy USDT, check out our friends at Paybis.
If you close document every time after print, and do not save document after print, the previous print setting would not be carried over to subsequent print.
This is very helpful. Thank you.
Very useful .Thank you